Instance administration
This page details the main configuration and settings offered by ANIS about instances.
Creation and deletion
Instance creation

The aim of ANIS as an Astronomical Information System, is to manage more than one instances. Hence, it is possible to create instances. For that, try to click upon the green card with the white + inside.
You should land on a self-explanatory form to fill. You give here the main information to characterize the instance.

In the following, attention is brought to important settings: the Data path, Files path, Public or Private.

- The Data path
- Remember the initial data you downloaded upon first build, those data were useful to add eventual images, discoverable by the server, to an instance. You give here the root data path for a specific instance.
- The Files path
- Once you set Data path, you can then give the relative path pointing to where the interesting files are stored.
- Public or Private
- ANIS offers the possibility to create private instances, access to those can be configured via proper roles settings on the keycloak server as explained earlier.
Note: once, you filled everything properly, you can confirm the creation by clicking in Add the new instance. Your new instance should be available for further configuration, and also on the client side, but with nothing interesting so far. To make the instance more interesting, read on.
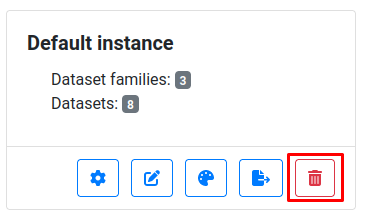
Instance deletion
Simply click upon the red bin button of an instance, the deletion is irreversible.
Instance management
For ANIS to be useful, you need at least one instance connected to a database containing some datasets. Upon first build, ANIS provides a pre-configured default instance with a pre-configured database and some datasets.
The Default instance.
For the purpose of the explanation, the default instance management is detailed here.
More particularly the:
- instance edition (pencil)
- instance design (paint palette)

Instance edition
When you click upon the instance edition (pencil) button, you should land on a form page as the following. The form should be self-explanatory, detailing all the main properties of the chosen instance. It's the same as the one in instance creation
Changing the latter configuration, changes the main properties of the chosen instance. Hence, changes to the latter form should be registered cautiously.

Note: once changes completed, don't forget to click in Update instance information validation button at the bottom of the page, to register the latter.
Instance design
ANIS offers the possibility to customize the design of each instance, so that each project gets its own characteristics. Hence, button colors, footers, headers, and tables are customizable.
When you click upon the instance design (paint palette) button, you should land on a form page as the following. The form is lengthy and not explained in detail here.
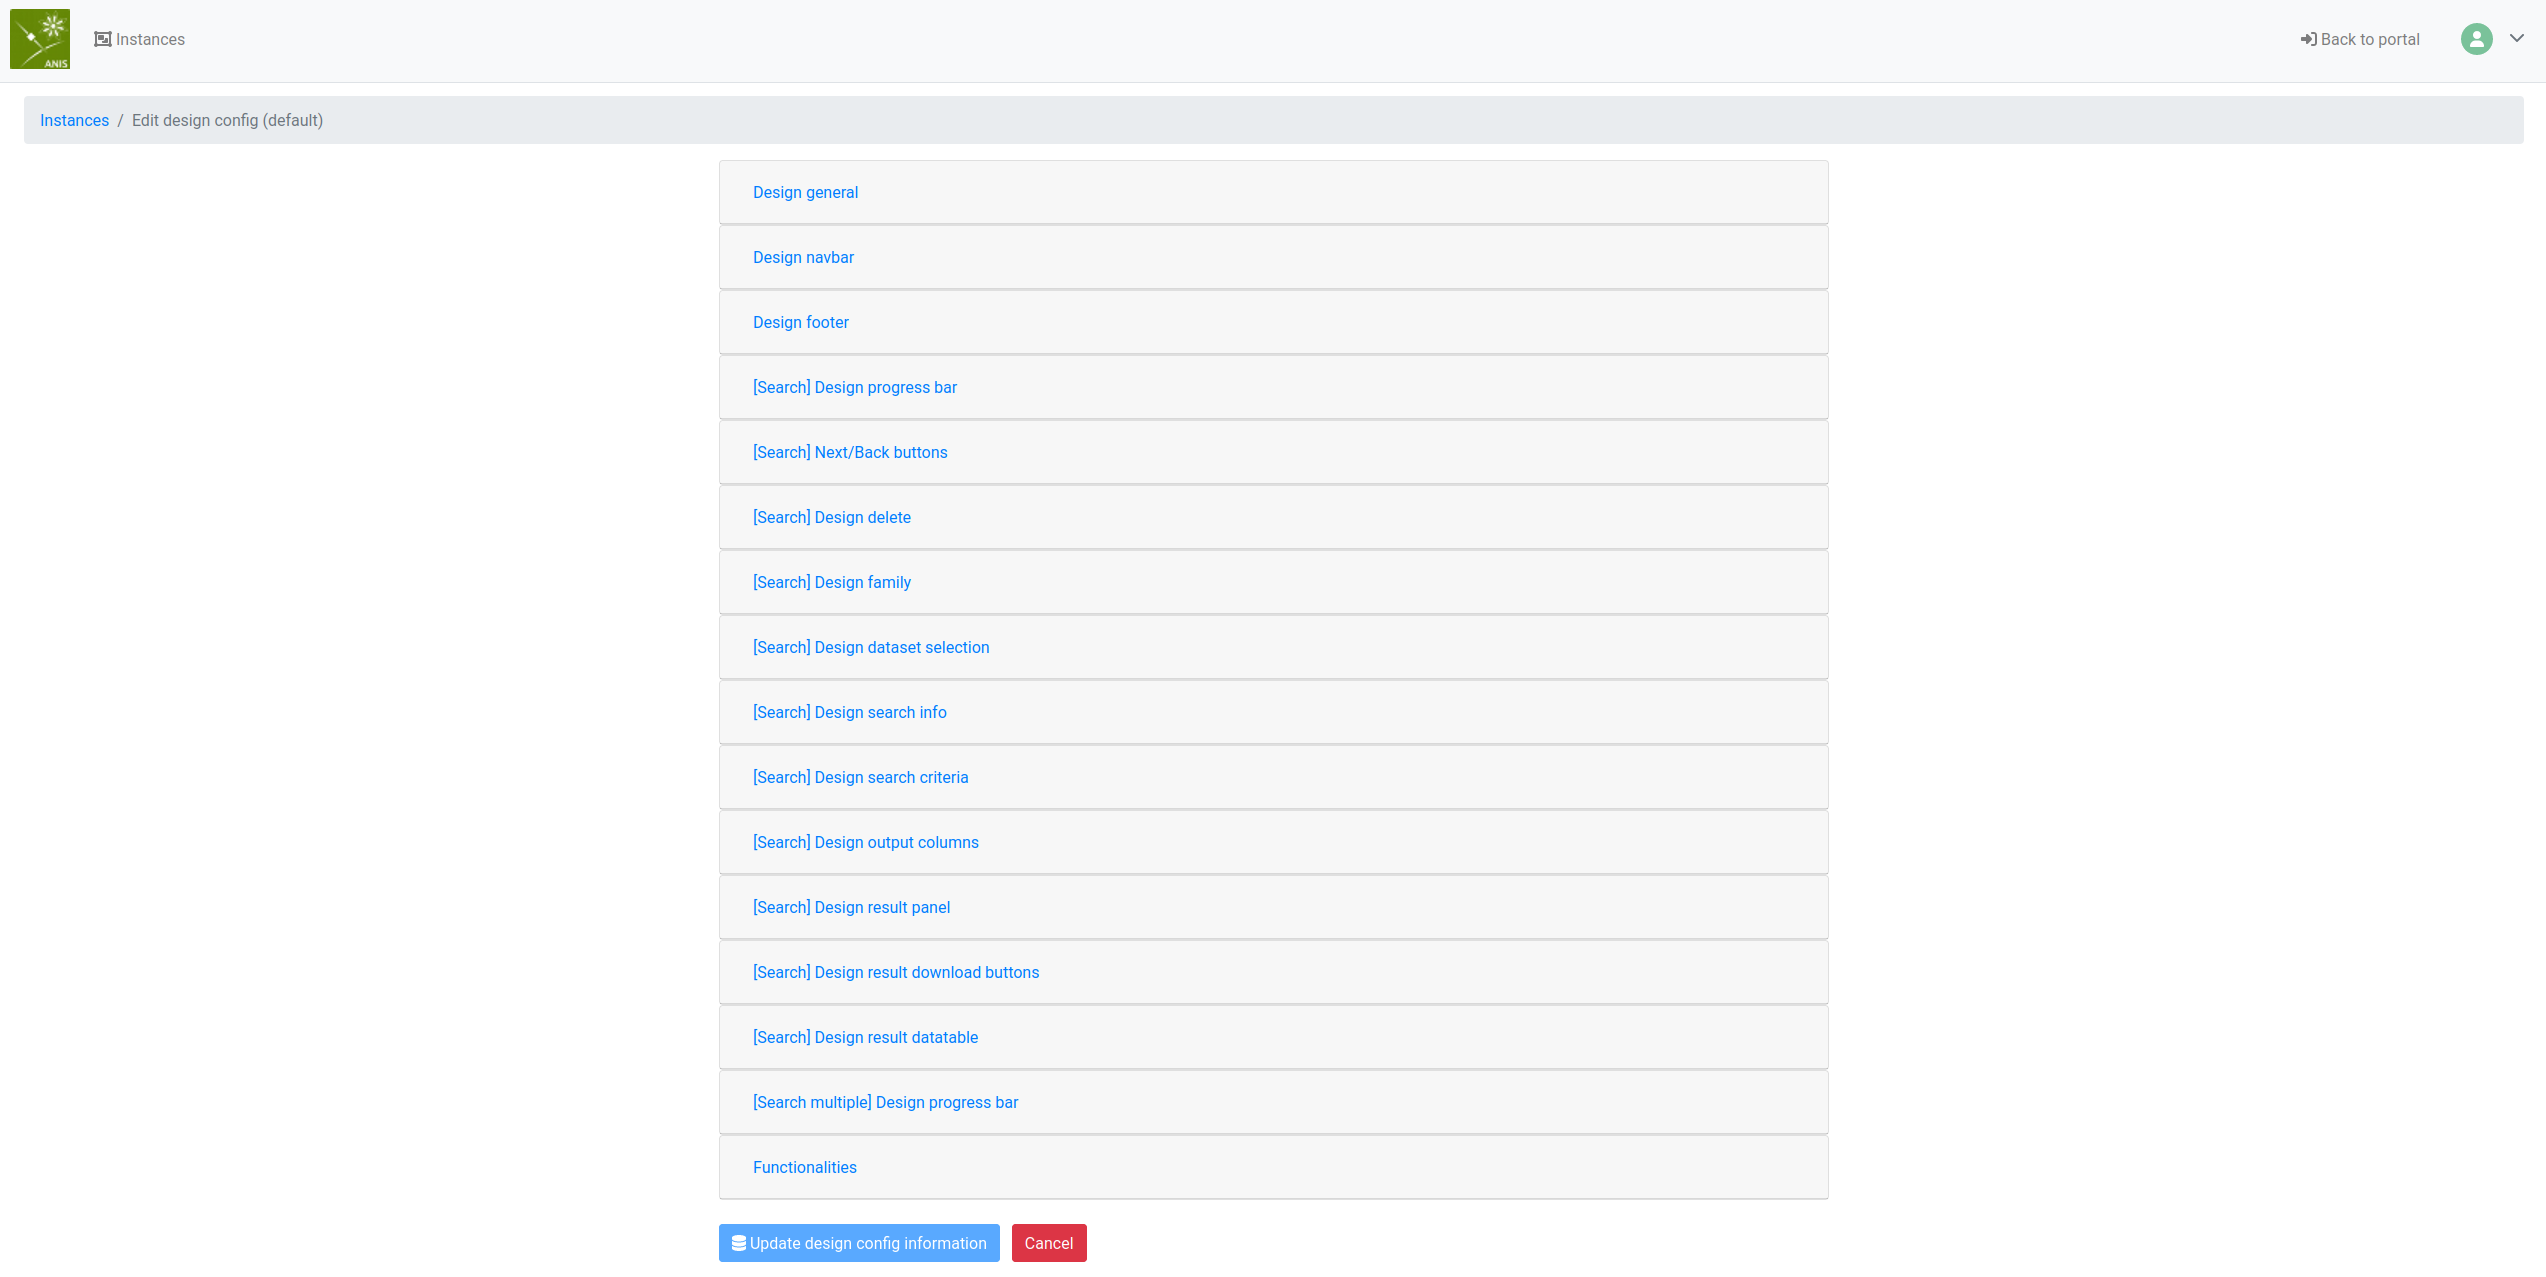
The best way to know about all possibilities so far: to try to change a few things and check the result on the web user interface.
Note: once changes completed, don't forget to click in Update design config information validation button at the bottom of the page, to register the latter.
Instance settings
If you click in the instance settings (gear) button on the administration interface, you should land on a page resembling this one.

You can see that this is the landing page for the datasets settings for the given instance. Those settings are sufficiently complex to be detailed apart on Dataset administration. From there, you can add datasets family and also configure other datasets of the existing dataset families. When you create a dataset or a family, you have to add a label and a display. The latter figure characterizes the importance of the family or of the dataset in the display order.
In the following, a focus is made on database configuration and on menu edition.
Handle databases
This section explain the database configuration for an instance.
To access datasets in instances, you need to properly configure the connection to a database.
If you click in the button Handle databases:

You should land on page resembling this one:

Note, that a database named Test is pre-configured with the default
instance. The latter database call on the db* container configured in the
docker-compose.yml stack.
To connect to a database, you need to provide username and network configuration. If you click in the Edit button, you should land on a self-explanatory form to give the latter configuration.
Note: one instance can accept more than one database connection, as hinted by the button New database. Hence, accessing datasets not stored in the same database instance.
Menu configuration
To refine the configuration of ANIS instances, ANIS offers the possibility to create so-called:
- web-pages: to configure and write landing pages, dataset documentation, core instance content
- menus: to configure a menu on the top navigation bar
- contains either URL or web-pages
- URL: to jump to external URL
Those elements are accessible through the top navigation bar on the web user interface, always available.
For that, click Edit menu.
You should now see a list of elements in the previous listing.
Web-pages
Web-pages represents the main way to include specific content in an instance. Click Edit this item (pencil icon), you should now see a form on requiring among others, a name, a label, the title and the content.
- The display figure in this form represents the priority of appearance on the navigation bar, with higher number appearing first
- The title string is the title appearing for the web-page on the main navigation bar
- The content is pure HTML that displays on the web-page, it can contains a list of so-called dynamic components
- You can stylise the HTML content with the CSS associated with it
URL
URLs are external links accessible through the main navigation bar.
Menus
Menus are top-down listing of web-pages and URLs accessible from the main navigation bar.
Instance group
You can protect instances and restrict their access to a set of users.
For that click Handle instance groups on the top list of buttons. You should now see a list of allowed roles for the selected instance, here the Default instance.
You can create and register some roles on this page.
You then need to add those roles to the running keycloak instance, hosted in the keycloak container in development mode.
Attach those roles to registered users with keycloak, only registered users under the specified added role have access to the configured instance.
If you've done everything properly, an access restriction to the configured instance is enforced. Only properly registered users under the given instance role in the keycloak database can now access this instance.
Import and export
Configuring an instance is a lengthy operation.
Copying an instance configuration from a deployed version to a local one is prone to error and not convenient.
ANIS can export and import instances configuration in a json file.
Instance export
If you click in the instance export (file export), you should get a popup proposing the download of the chosen instance configuration via a json file.
Instance import
Say you wish to create a new instance, and you have a json configuration file at your disposal.
You can click in the green card with a plus sign on the administration portal.
From there, you can either fill a form that resembles the one offered via instance edition.
Or, you can choose the button Import an instance, that offers to select a json configuration file on click and Import the new instance.

If no error occurs, the new instance should be available for further configuration.