Authorization
Introduction
Some server REST API endpoints require authorization. We will explain here how ANIS handles authorizations.
JWT
ANIS uses a web standard to manage authorizations. The name of this standard is JWT and you can find more information about this into the official website: https://jwt.io.
JWT is an authentication token that allows a user to prove their identity and access rights. The token is a string encoded in base64.
The user must send a JWT token for server REST API endpoints that require authorization to prove identity.

The token consists of three encoded parts separated by a dot :
- In red you can see the header
- In purple you can see the payload
- In blue you can see the signature
JWT Header
The header is base64 encoded but can be decoded. The decoded header is a JSON which contains information about the token such as the algorithm used to digitally sign it.

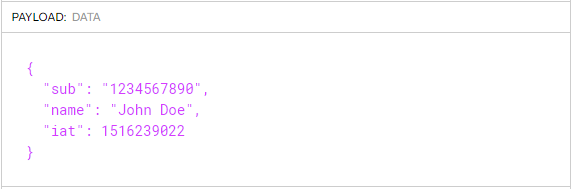
JWT Payload
The second part can also be decoded to reveal a JSON. This JSON is the payload, which contains the claims. Claims are statements about an entity (typically, the user) and additional data. It can also contain the user's roles.
JWT signature
The last part contains the digital signature made by a trusted third party with a secret key. It ensures the authenticity of the token. The signature is built like this:

The signature is used to verify the message wasn't changed along the way, and, in the case of tokens signed with a private key, it can also verify that the sender of the JWT is who it says it is.
Activate authorization
By default authorization is not enabled in ANIS. This means that no entrypoint is protected by default.
To enable authorization you need to change the environment variables configuration.
You can find the configuration in the description of the server container in the docker-compose.yml file.

Here is the list of options concerning the authorization :
TOKEN_ENABLED: 0 means that the authorization is deactivated and 1 that it is activated.TOKEN_JWKS_URL: URL that allows ANIS to retrieve the public key.TOKEN_ADMIN_ROLES: Possible roles that the user must have to call the protected routes. Each role is separated by a comma.
Send token with your request
To prove his identity the user must transmit a jwt token in his request. The JWT token will be validated by the server and the payload information will be able used. User will need to transmit the HTTP Authorization header like this :
Authorization: Bearer <token>
Example with curl:
$ curl "http://localhost:8080/database" \
--header 'Authorizarion: Bearer eyJhbGciOiJIUzI1NiIsInR5cCI6IkpXVCJ9.eyJzdWIiOiIxMjM0NTY3ODkwIiwibmFtZSI6IkpvaG4gRG9lIiwiaWF0IjoxNTE2MjM5MDIyfQ.SflKxwRJSMeKKF2QT4fwpMeJf36POk6yJV_adQssw5c'
Keycloak
ANIS does not generate JWT tokens and a trusted third party must do it for him. Keycloak is an open source software product to allow single sign-on with Identity and Access Management aimed at modern applications and services. Keycloak will therefore generate JWT tokens for us. For more information you can visite the official website: https://www.keycloak.org/.
ANIS includes by default a keycloak installation for development.
You can find the keycloak container configuration in the docker-compose.yml file.
Concretely, a keycloak user will be able to request a connection to get a JWT token. The user will then need to pass this token on to server REST API requests that require authorization.
In the development mode, you can connect to the keycloak administration interface by going to: http://localhost:8180.
Username is admin and password is admin.
Public key
ANIS needs the public key to verify the tokens sent to it. Keycloak provides a URL to retrieve all available public keys.
The TOKEN_JWKS_URL parameter is used to provide this URL to ANIS.
In the development mode ANIS is configured to connect to retrieve public keys from the local keycloak.
Note: You can access to this cert from your host with this URL :
http://localhost:8180/realms/anis/protocol/openid-connect/certs
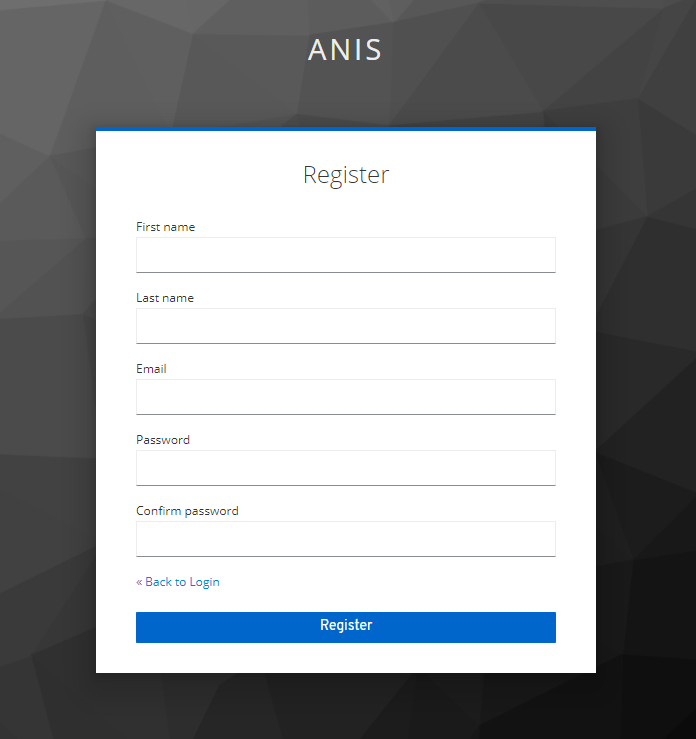
ANIS user account
Each visitor can create an account from the web interface:
- Open a browser and go to ANIS client: http://localhost:4200
- Click button
Sign In / Register - Click on the link
Register - Fill the form and click
register - Go to the mail catcher http://localhost:1080 to read the mail and activate your account
- You are now logged into your user account
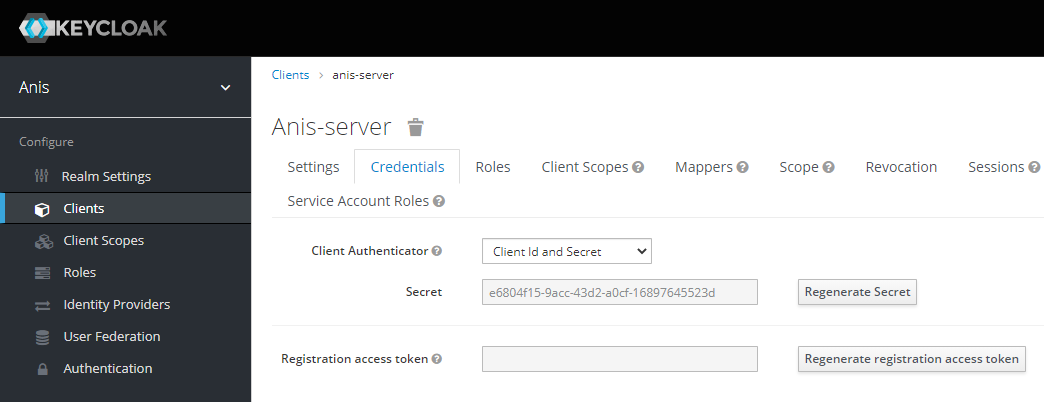
Confidential client
By default, the local keycloak installation registers a confidential client named anis-server. We can therefore request a token from keycloak via this client. But first we need to set up a secret for our anis-server keycloak client.
- Open a browser and go to keycloak: http://localhost:8180
- Click on the link
Administration console - Enter the administrator username and password (default=admin/admin)
- Click on the link
Clients - Select
anis-server - Select
Credentialstab - Click on the
Regenerate Secretbutton
You can now send a request to keycloak to get a token :
$ curl -k \
--data "grant_type=client_credentials&client_id=anis-server&client_secret=**********" \
"http://localhost:8180/auth/realms/anis/protocol/openid-connect/token"
Replace ********** with the secret obtained from the keycloak interface.

The token to send to anis is the access_token. It is by default valid five minutes after its generation.
This generated token contains the role anis_admin.